General Info
Personalise and describe your device
The [GENERAL INFO] tab is where you can describe, personalise and provide summary information about your device. It allows you to give a context to a device that is easily understandable by other users in your workgroup.
Menu -> Devices -> [select a device] -> General Info
A device can be configured to display a number of attributes related to that device. Examples could include but not limited to:
Address
Latitude & Longitude
Images of the device and its location
Map
Elevation
See Metadata for more information on configuring these attributes.
Note: Why you should make use of this tab:
As your workgroup grows, more and more devices are added to your work group list. Over time this expanded list of devices will take on a dimension that, with a good summary of device information, will make it easier for you and your team to visualise what each device is connected to and its location.
Furthermore, new workgroup users and administrators will appreciate the context provided with a comprehensive [GENERAL INFO]tab. Well presented information and visualisations, make for quick comprehension, easy take-up and fewer questions.
Managing Images
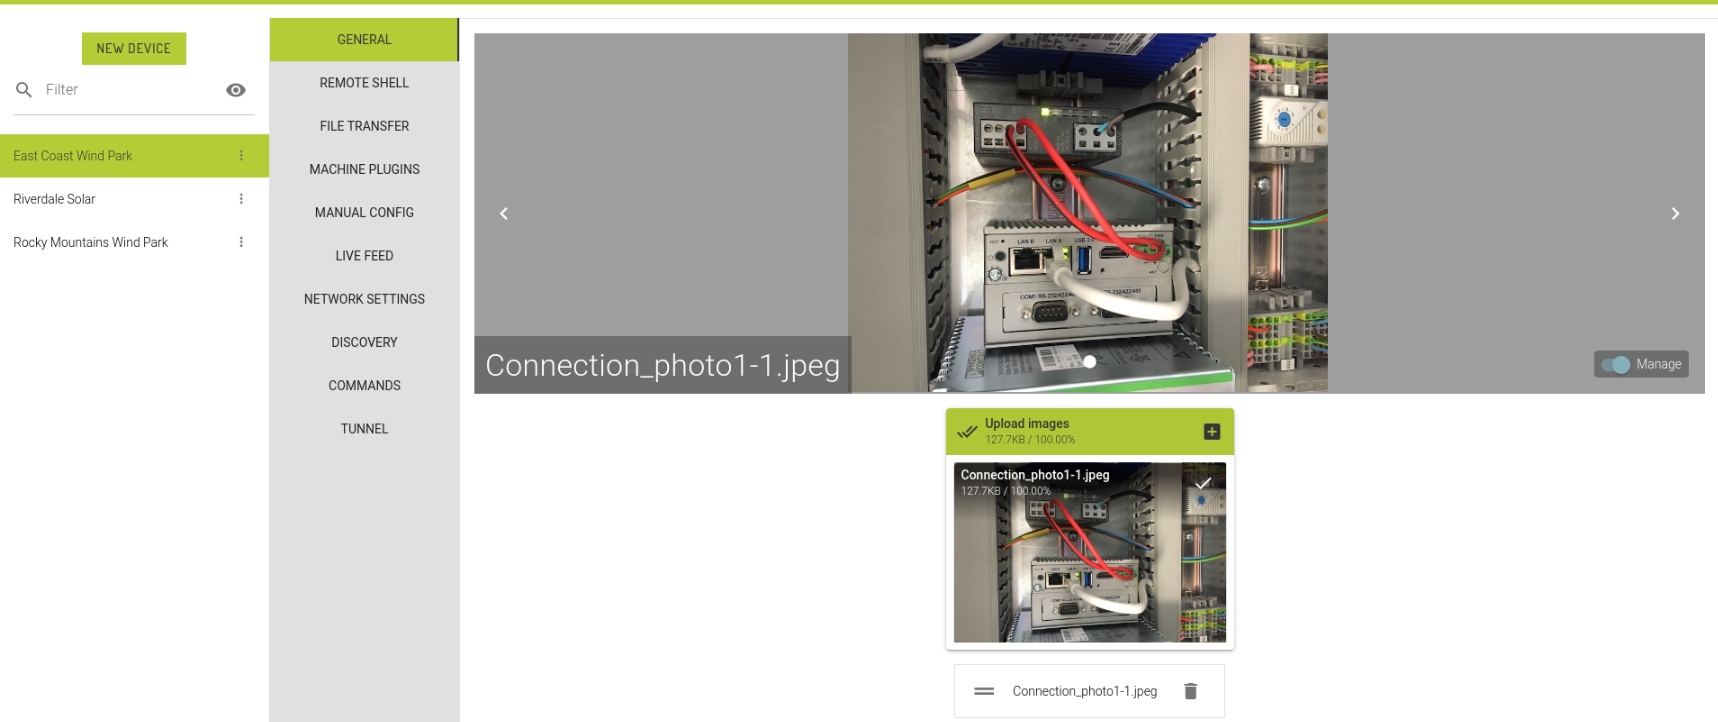
Images can be uploaded for each device on the General Info tab. This can be used to show the physical location of the Ardexa device in a machine room, or the physical surrounds of the installation to name two useful examples.
Uploading images
Start by uploading one or more images for your device. Enable the "Manage Images" toggle on your device's General Info tab:
Click "PLUS" button, and pick one or more files from your local machine. Click "Upload" (Cloud with an up arrow) to upload the images to the cloud. Note: maximum file size is 2MB.
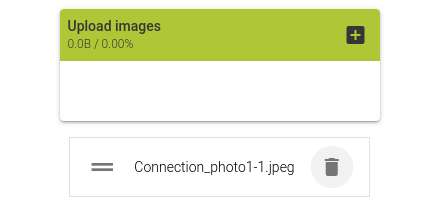
Ordering images
Uploaded images will be displayed in a list underneath the upload area. These images can be dragged to order them. The image at the top of the list will be displayed first when viewing the page.
Once you are happy with the order of your pictures, click "Save". Alternatively, click "CANCEL" to go back to the previously saved state.
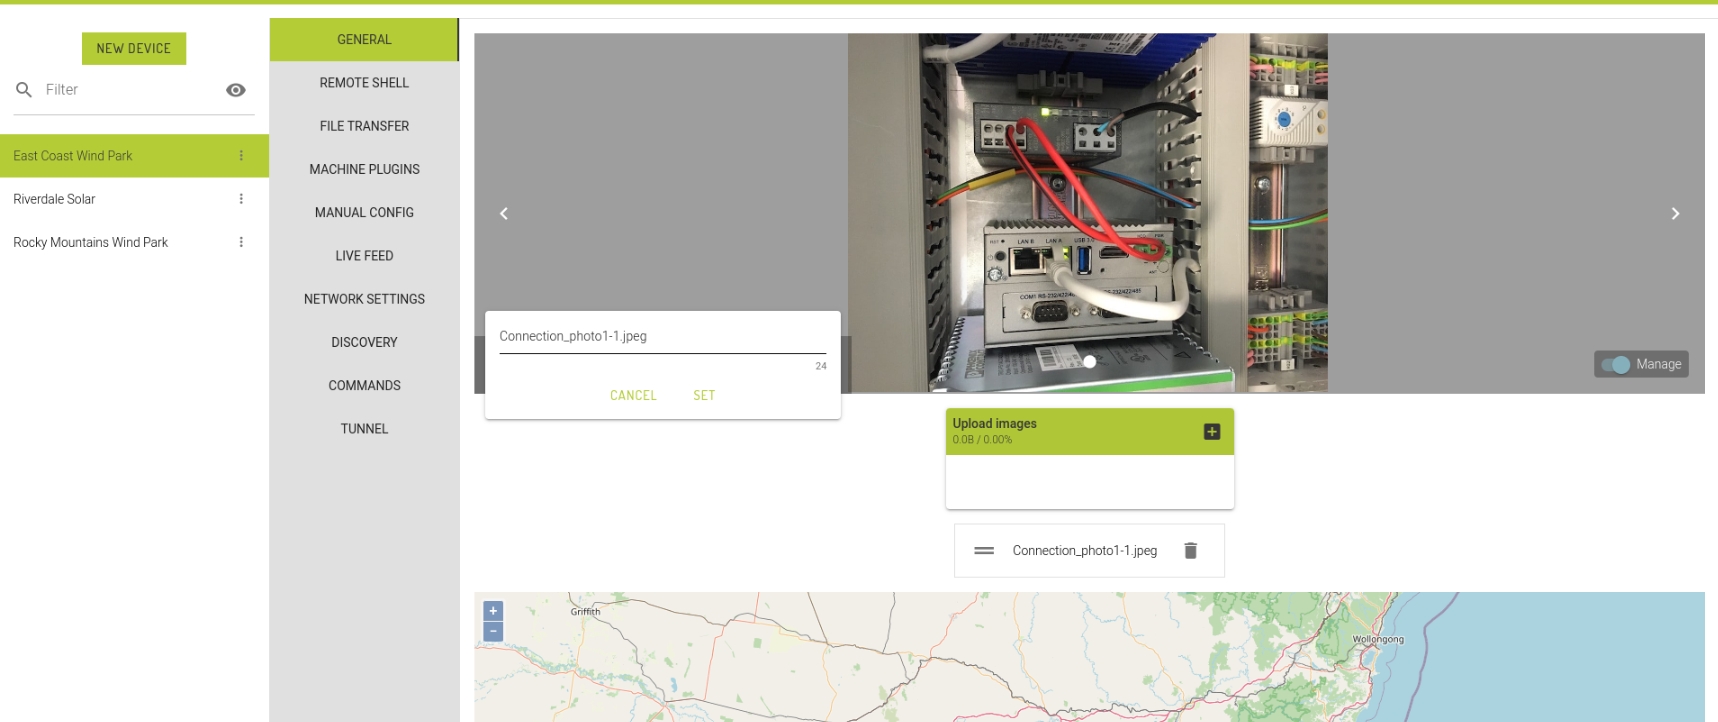
Renaming images
Clicking the name of the image in the carousel, or in the list of images to pop-up the editor.
Enter a new name for the picture and click "Set" or simply press ENTER
Deleting images
Click the "delete" button next to the picture to delete it. Click "Save" to confirm or "Cancel" to leave the picture in place.
Once you have finished editing images, disable the "Manage" toggle to return to the standard Device General Info view. Note: if you have any unsaved changes, disabling the "Manage" option will discard them.
Last updated