Discovery
Tools for your network and infrastructure devices
With in the Ardexa Web App, the following section describes each of the utility tabs under the selected Device's[DISCOVERY] tab:
MENU: > [DEVICES] > (select device) > [DISCOVERY]
Discovery provides you with a number of tools to gain insight into your network and infrastructure devices.
NETWORK SCAN
MENU: [DEVICES] > [DISCOVERY] > [NETWORK SCAN] tab
The default tab provided when you first arrive on the selected Device's [DISCOVERY] component tab.
Select a network interface and click on the RUN button; a report will be generated and after a duration will returned to the open NETWORK SCANtab.
The contents of the report will show what devices can be found on the local network with their local IP address, MAC address and device name provided.
Network Size Limitations
Summary:
Large networks with a netmask < /20 will not be scanned.
Determining the network size of your selected interface is as easy as reading the netmask on the back of your IP address, being the number after the / character.
Netmask
A netmask indicates how many bits of your IP address are fixed (and therefore how many are variable). The greater the number of fixed bits means fewer possible addresses on the network and therefore the network size can be calculated.
An Average Sized Network Example
Given the following example network address: 192.168.1.10/24
The netmask has a value of 24 and this will translate to a network size of potentially 254 usable hosts.
A network of this size may take up to 2 minutes to scan.
A large Network Example
Given the following example network address: 192.168.1.10/16
The netmask has a value of 16 and this will translate to a network size of potentially 65,534 usable hosts. Attempting to scan a network of this size requires tens-of-minutes, currently being beyond various timeout constraints.
If you have a need to scan a part of a large network with a netmask of less than 20 then there are still options you can take by manually scanning particular subnets of your IP range. This is covered in the next section.
Manually Scanning a Subnet of a Large Network
Background & Example Scenario
An IP address is built using four octets - each of 8 bits. For example:
192:168:5:10
1st-octet : 2nd-octet : 3rd-octet : 4th-octet
Using this example we are going to scan the subnet 4 on the 3rd-octet.
Solution
Take note/copy of the IP address of your large network as displayed in the network scan selection list. Eg:
enxb827ebd2b458 (192.168.5.10/16)Build your command: If you would like to scan a particular 3rd-octet/subnet of your IP address then set the value in the IP address as desired and set the
netmaskas/24NB. anetmaskof anything less than/20will be rejected. For example, referencing the provided example interface address from point1/above, if you wanted to scan the subnet of4on the 3rd-octet of your IP address, you would build your subnet address as follows:192.168.4.0/24Navigate to your device's
[REMOTE SHELL]where you will manually run yourarp-scancommands.execute the following command against your device to only scan a particular subnet of the full host range.
arp-scan --interval=20 --retry=1 --timeout=200 [YOUR-TARGET-SUBNET-IP]/24Repeat for other subnets.
Example:
Install arp-scan
Hint: installation is not required for devices running ArdexaLinux
Before your device can run a network scan it must have arp-scan installed. If your device does not arp-scan installed you will be prompted to install. Installing may take a few minutes depending on your internet connection to and from the device.
If your connection is very poor there is a chance of a timeout error; no problem, just wait a minute or so and then refresh your page - it may have installed. If the module hasn't installed then try again.
All devices running ArdexaLinux will have this installed out-of-the-box. Once installed you are ready to start scanning.
Results for the most recent Network scan on a given device will be available in the app until the user leaves the workgroup, logs out or closes their browser.
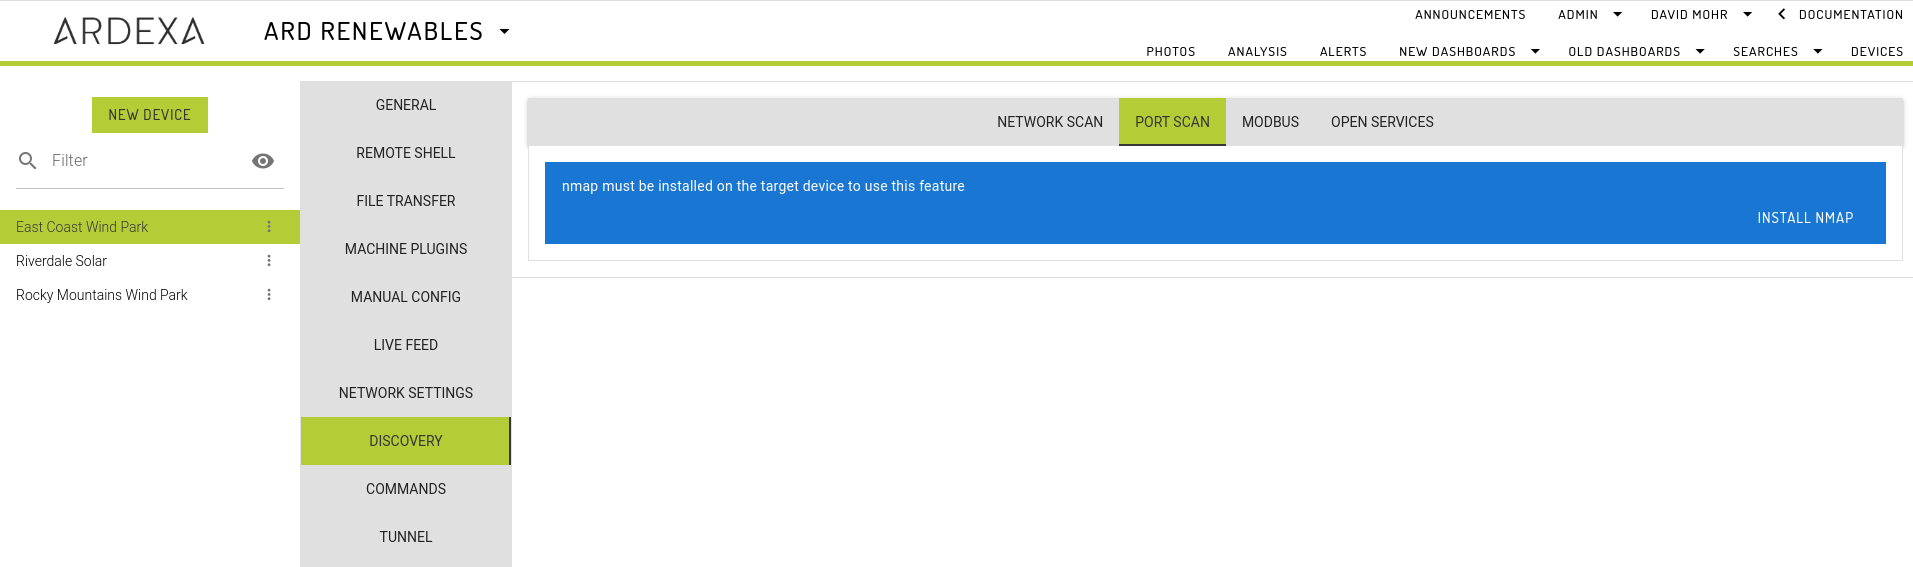
PORT SCAN
MENU: [DEVICES] > [DISCOVERY] > [PORT SCAN] tab
Select a network interface, choose which ports to interrogate and click on the RUN button; a report will be generated and after a duration will returned to the open PORT SCAN tab. Ports can be select from a predefined list of common ports or manually entered using the Custom text field. The Custom text field accepts a comma-separated list of port numbers.
The contents of the report will show what devices can be found on the local network and a list of open ports from the pre-selected ports list.
Install nmap
not required for ArdexaLinux Devices
Before your device can run a port scan it must have nmap installed. If your device does not nmap installed you will be prompted to install. Installing may take a few minutes depending on your internet connection to and from the device.
If your connection is very poor there is a chance of a timeout error; no problem, just wait a minute or so and then refresh your page - it may have installed. If the module hasn't installed then try again.
All devices running ArdexaLinux will have this installed out-of-the-box. Once installed you are ready to start scanning
Results for the most recent Port scan on a given device will be available in the app until the user leaves the workgroup, logs out or closes their browser.
MODBUS
MENU: [DEVICES] > [DISCOVERY] > [MODBUS] tab
Reads values from one or more Modbus slave devices over the Modbus TCP protocol.
See Modbus for more information.
OPEN SERVICES
MENU: [DEVICES] > [DISCOVERY] > [OPEN SERVICES] tab
The OPEN SERVICES tab is a network tool that you can use to discover the description and status of your open ports on your public network (available to anyone over the internet).
Included Ports
The following common ports are included in the scan:
Example Report
Last updated