Lookup Table
Multi-dimensional lookup table with Status Fields / Values
Primary to show error, status and warning texts in the dashboard
Background
Many machines that clients connect to, will only return a short alpha+/-numeric status code for certain fields. These codes need to be translated into meaningful text values for display to the user on dashboards and potentially other pages in the app.
This is accessible in Admin -> Workgroup -> Lookup Tables Tab
Creating a table
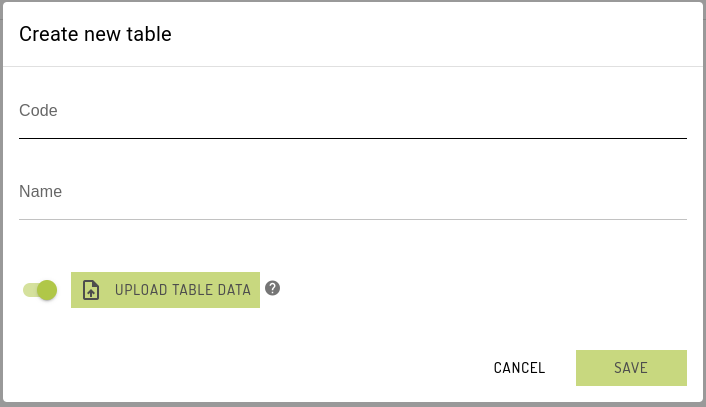
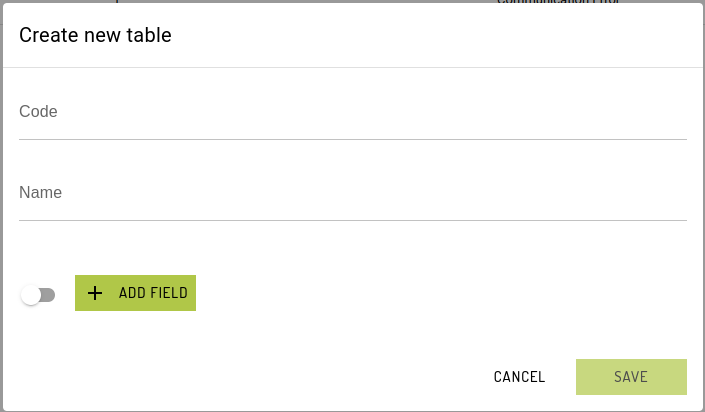
Table code is a unique reference to the table and Table name is the label name for the table.
There are 2 ways to add or create a table: Upload and Manual. Setting the toggle will switch both ways.
Upload a csv file of lookup table data.
Manually add fields and values
Table list
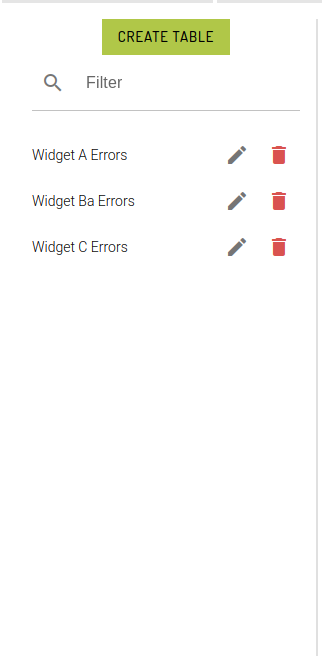
Once tables are created, they will appear in the table's list of lookup tables for admins to manage.
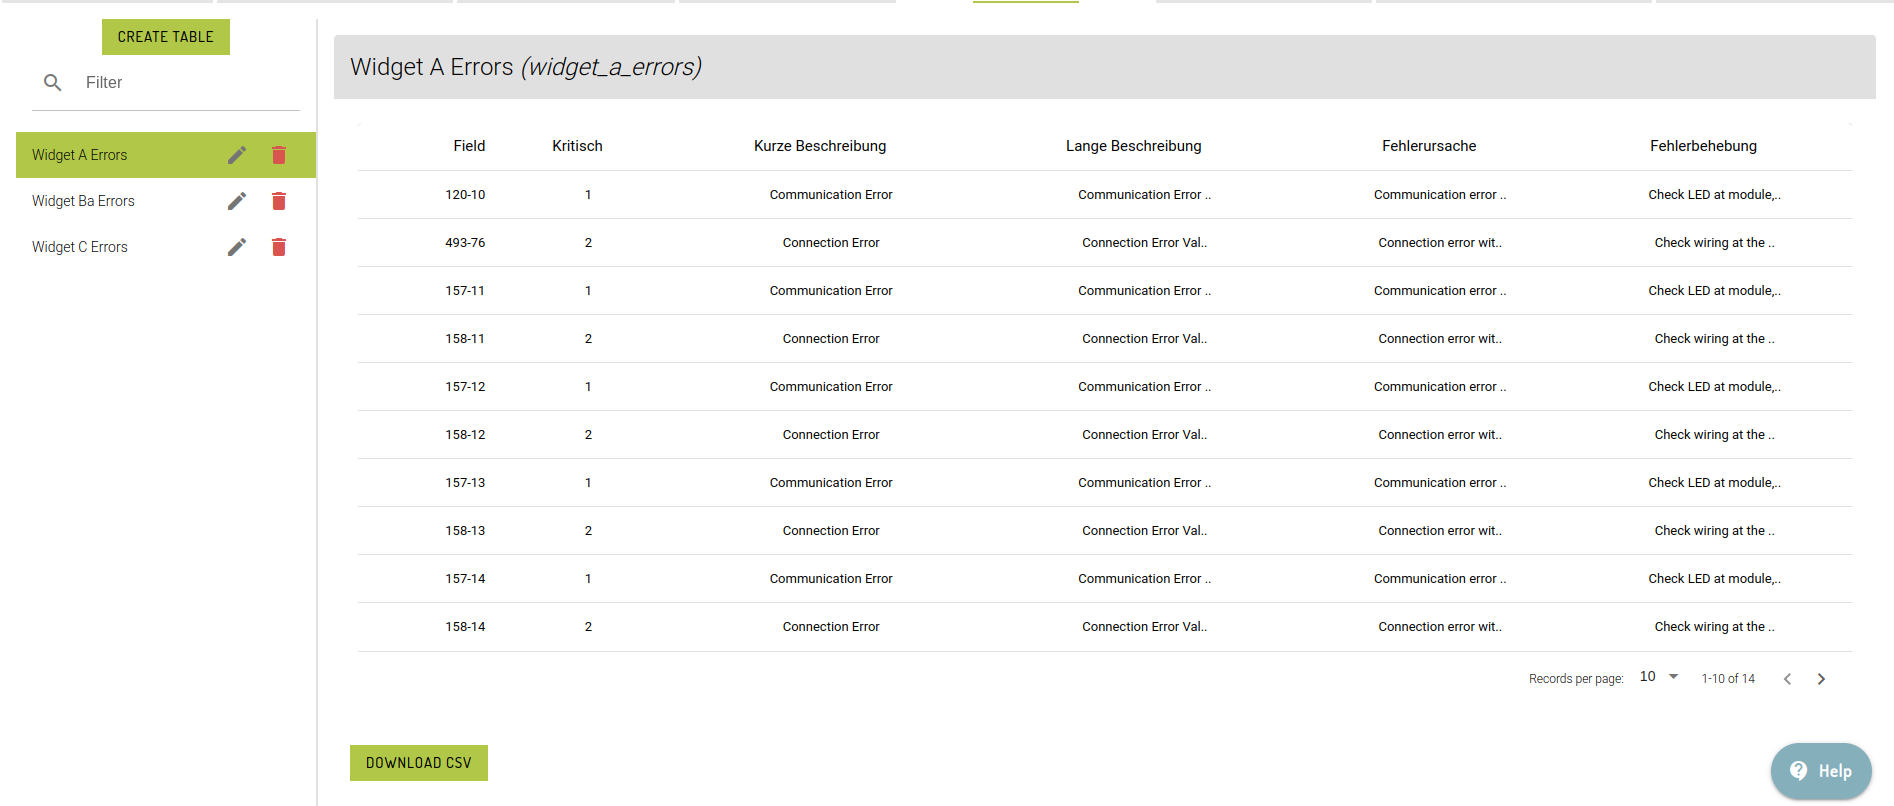
When an admin selects a lookup table, a quasar table will be displayed to show the contents of the table. A Download CSV button will also appear for an option to export a csv copy of the lookup table.
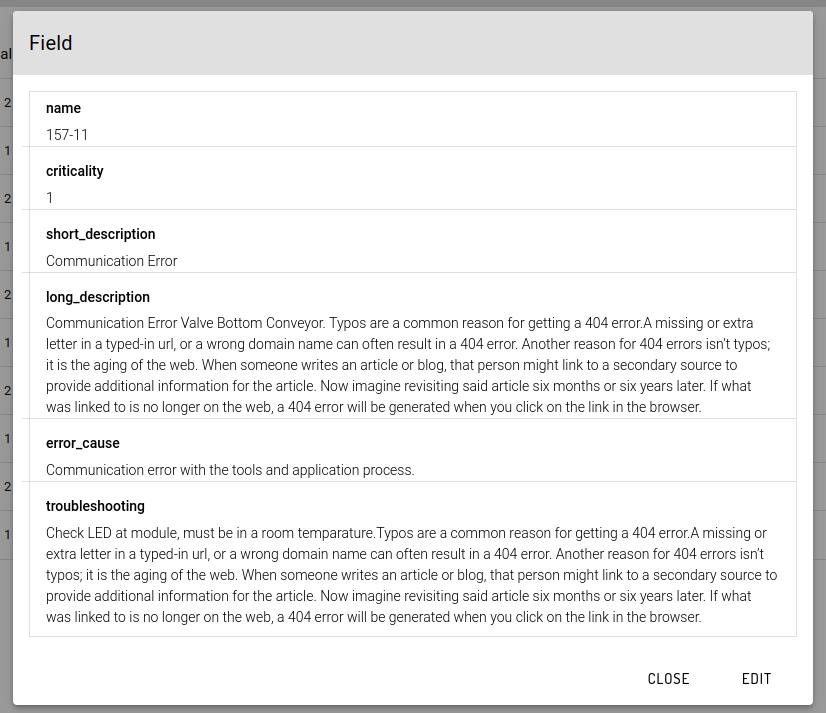
From this view, clicking a specific row will display a dialog box containing the full contents of the item. By clicking the button Edit, admins can directly modify the contents of the specified row.
Edit / Delete
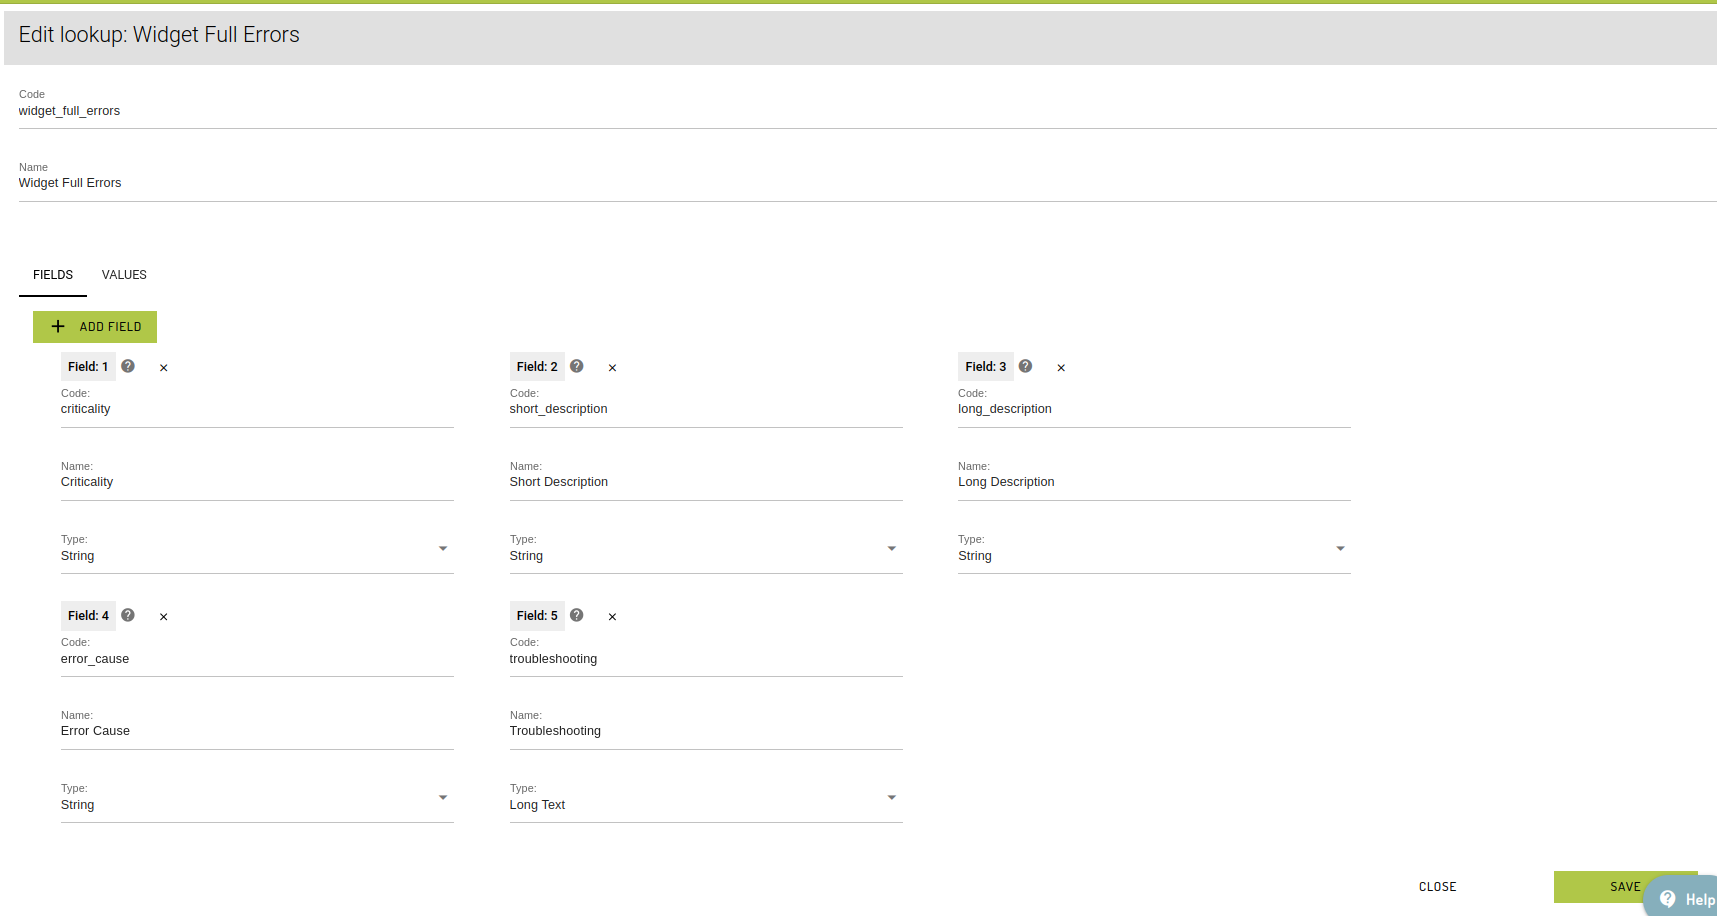
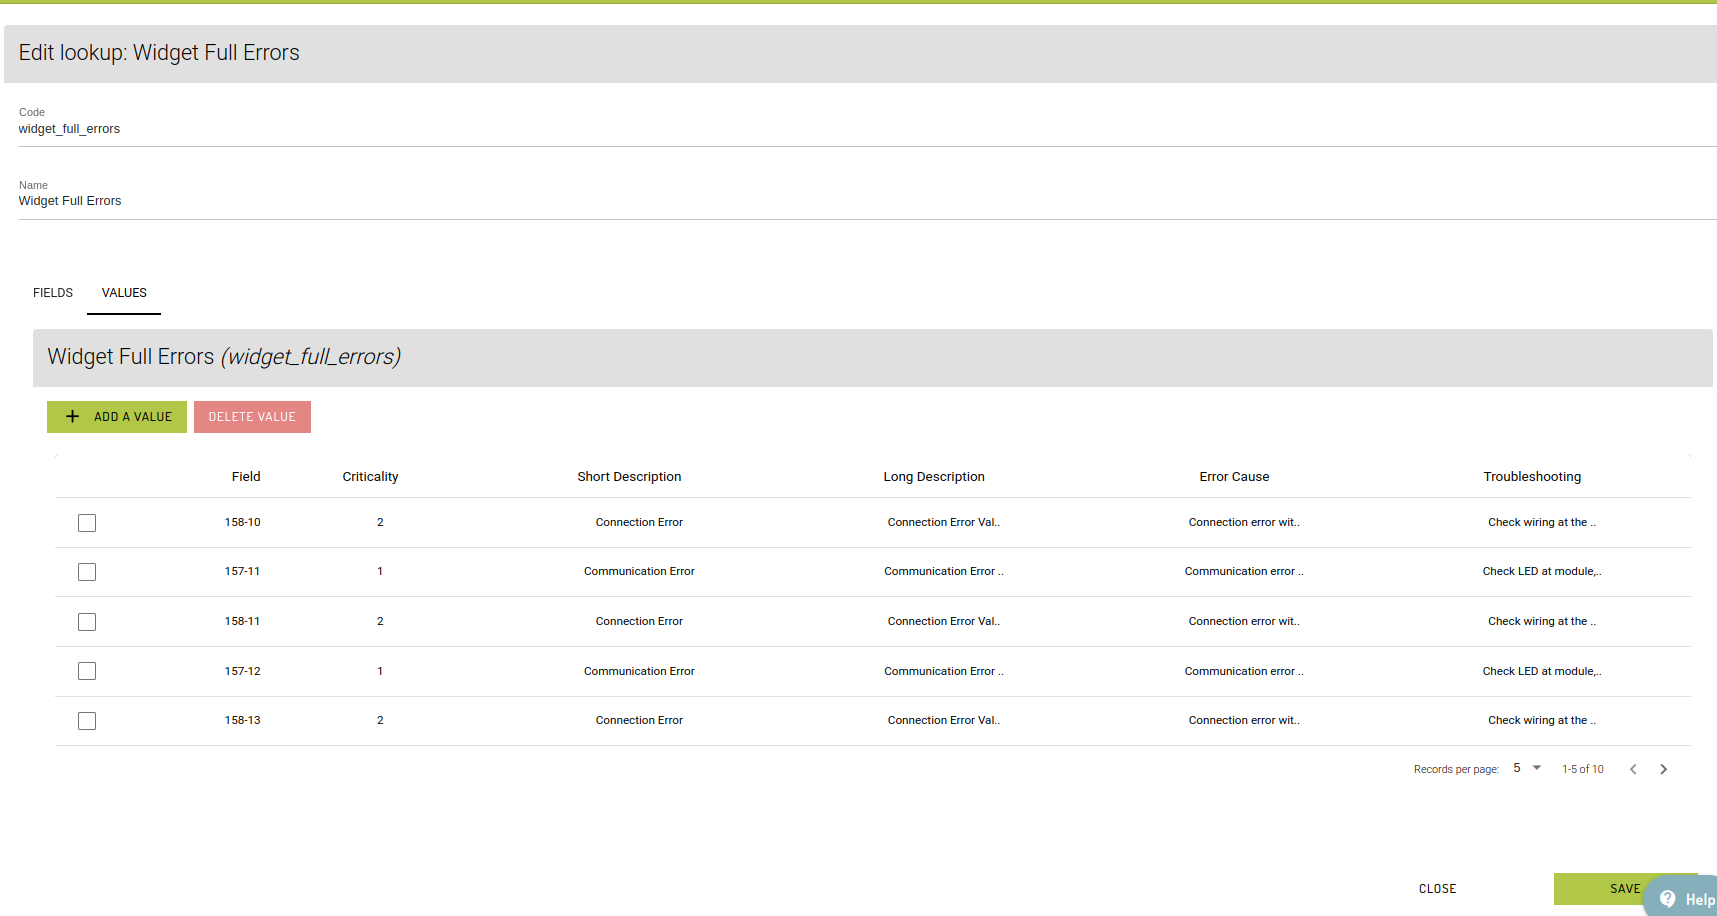
Edit (pencil icon) and Delete (red bin icon) are 2 of the main action items to manage the lookup tables. For Edit, admins can modify the table code, table name and add/edit fields and values individually.
Deleting a table and/or fields will have their corresponding confirmation dialog to confirm if the action is meant to be executed. Edit/Delete icons will be disabled while an admin is modifying a table. Either cancel the edit or click any other tables from the list.
Editing the values or contents of the table can be done individually by clicking the row. To add a new row, click the Add a Value button. To delete a value, which can only be done in the Edit mode, tick the box of the specific row and click Delete Value button. Always click Save.
Last updated
